I've been into many things Japanese lately. For years now, I've been enjoying sushi, edamame, and tofu. I've enjoyed many an evening watching Iron Chef and then Iron Chef America.
Lately I've been very fascinated the show I Survived a Japanese Game Show. It's a reality show where 10 Americans signed up and had no idea that the premise of the show was they go to Japan and compete on a real Japanese game show called Majide (which translates to "You must be crazy"). Right now you can watch the episodes now by clicking here. I think this show is outrageous!
One one episode of the game show, the winning team's reward was to see how soba noodles were made and to have them prepared fresh. It looked great! I think on that particular episode, the loosing team had to shell and clean live clams for food preparation - a messy, smelly job.
But in general, I'm intregued by the Japanese culture and its food. So it's time I start experimenting more.
Two weeks ago I went to a restaurant in Harvard Square where I had soba noodles for the first time. I really enjoyed them! They were served with coconut shrimp. Seemed simple enough!
I felt that soba noodles would be an easy place to start my adventures into Japanese cooking. This is a bundle of soba noodles:
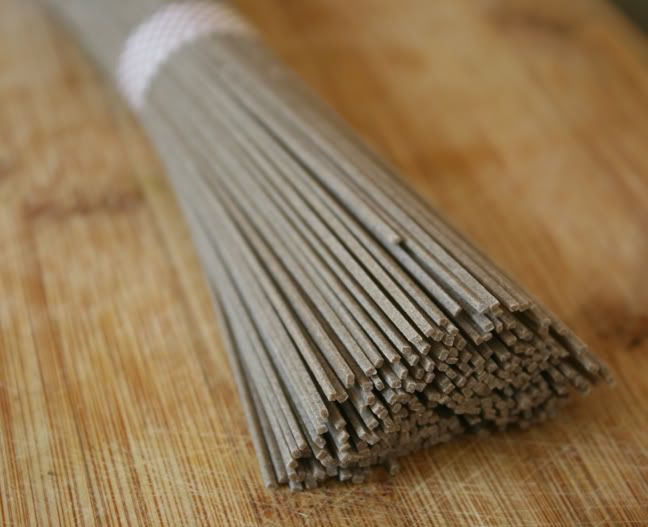
Soba noodles are buckwheat noodles. The packages at my local grocery store are 12 oz. and have 3 bundles.
So I've been doing some experimenting this week, making many adaptations to a recipe I saw on Epicurious.com. I added a lot of vegetables. I love the carrots and the snow pea pods, which remain somewhat crispy when they are sautee. The The dish is sort of sour, but slightly sweetend by the addition of ginger and just a pinch of sugar. For my protein, I chose tofu. Though if you don't like tofu, you could just as easily use chicken! Maybe even salmon would work out well.
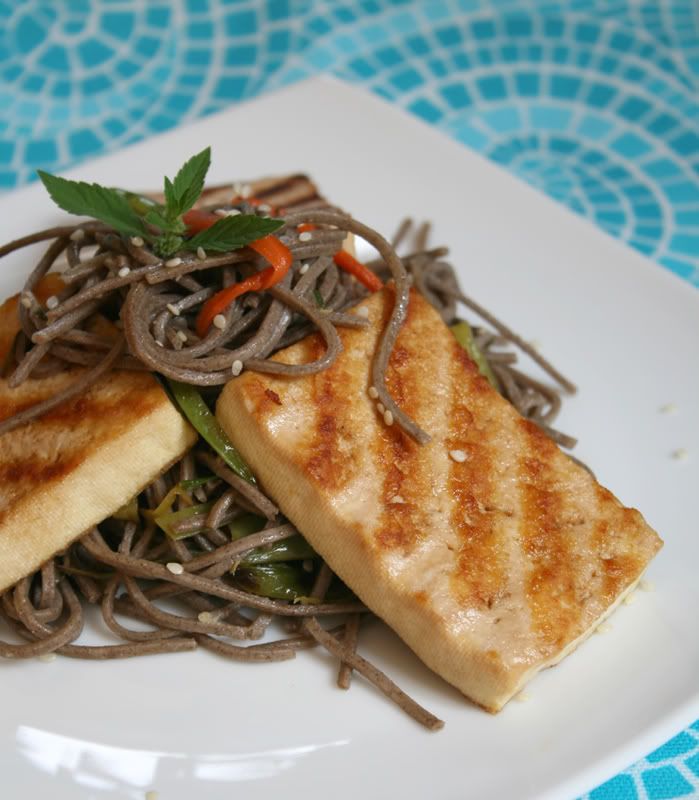
I am now very happy to present to you, this resulting recipe!
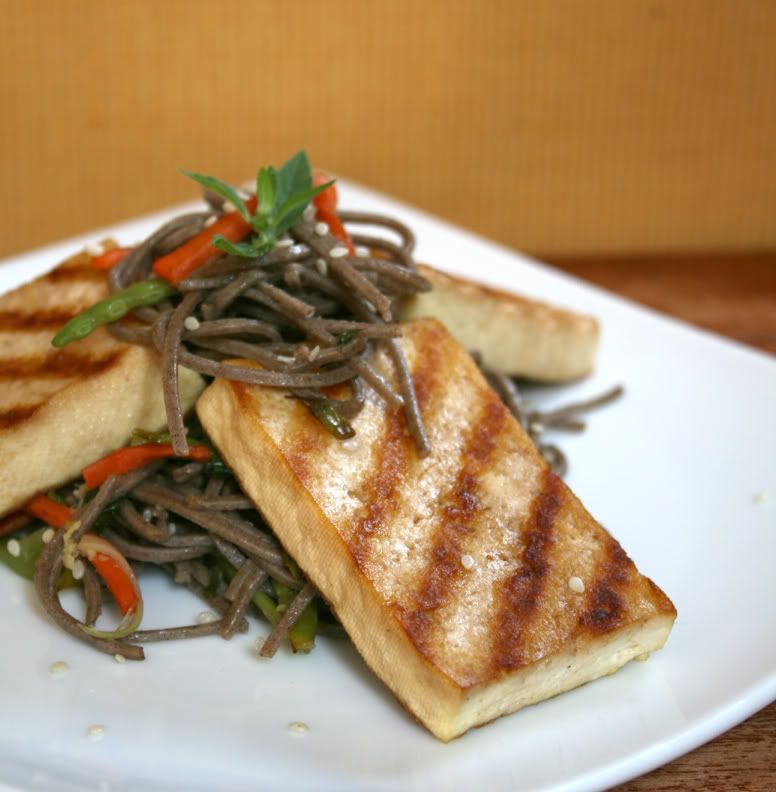
Soba Noodles with Fresh Vegetables and Pan-Grilled Tofu
Adapted from Epicurious.com
Ingredients
8 oz soba (2 bundles)
1/3 lb (4 oz) snow peas (about 3 cups once sliced)
4 oz carrots (about 1 1/3 cup once sliced)
3 oz scallions (about 1 ½ cup once sliced)
1 tablespoon grated fresh ginger (the small grate)
1 tablespoon oil (for sautéing)
1/3 cup rice vinegar
1 tablespoon sesame oil
1 tablespoon soy sauce (I used low sodium)
1 ¼ teaspoons sugar
1/4 cup chopped fresh mint
1 brick of tofu
Procedure
Drain your tofu if you are using it. I would recommend doing this step an hour before cooking. But you can always do it the day before if you want. If you do it the day before, just put it in a Rubbermaid container once it's drained and keep it there until you use it.
Mix the liquids (rice vinegar, soy sauce, and sesame oil) and sugar first.
Put enough liquid on the tofu to coat with a slight bit extra. Let it marinate while you cut the vegetables and cook the noodles.

To prepare the soba noodles, bring a pot of water to a boil. Add the soba noodles and cook for 5 minutes. Pour the water and noodles into a colander. Run cold water over the noodles. Drain them and place them in a bowl. Cover to keep warm.
While you prepare the noodles, slice all the vegetables into very thin strips.

Heat a large pan on medium-high flame. Add about 1 tablespoon oil. Then add the carrot strips. Toss to coat and sauté for 3 minutes, stirring occasionally.
Add the snow pea strips. Sauté for 7 minutes more, stirring occasionally.
Add the scallion strips. Sauté for 1 more minute.
Then add the ginger and mint. Stir to mix the ginger and mint into the vegetables.
Place the entire vegetable mixture into the bowl with the soba noodles. Pour in the remaining sauce and toss using a pair of tongs (I found that tongs work best to mix the ingredients evenly). Cover to keep warm while you grill the tofu (or whatever other protein you decide to use).

Heat a grill pan to medium high. Spray with cooking oil. Place tofu steaks on the pan and don’t turn them over till you have beautiful grill marks (about 2 minutes per side).

To serve, plate the noodles and place the tofu steaks on top. Garnish with sesame seeds and fresh mint sprigs.
Serves 4